How to…
Install the toolchain
- Install Python 2.7
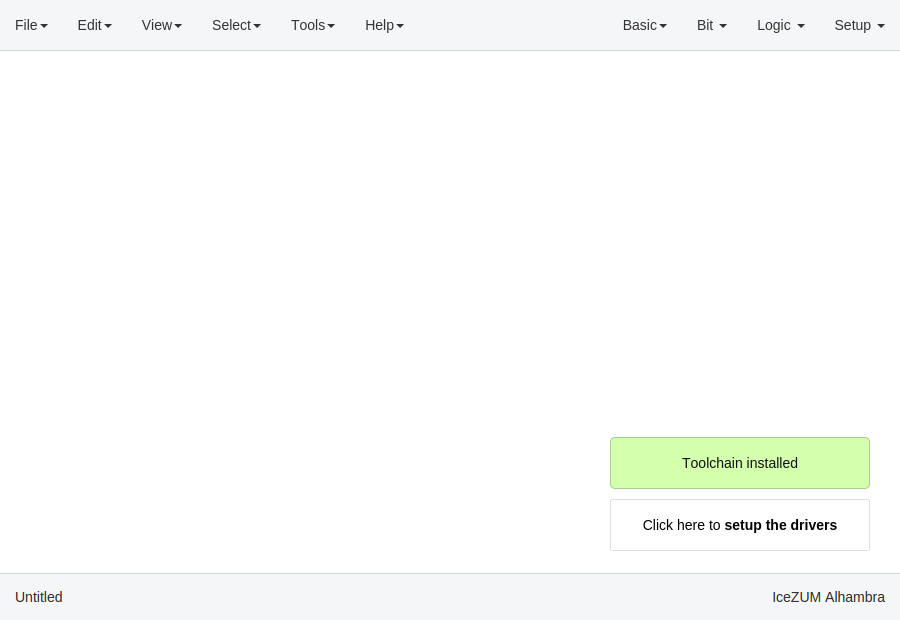
- Launch the toolchain installation process
Go to Tools > Toolchain > Install. Be patient for the toolchain installation.
Note
When the toolchain is installed, the menu option changes to Tools > Toolchain > Update. Also, the toolchain can be restored to default in Tools > Toolchain > Reset default.
Update the toolchain
- Connect to the Internet
- Launch the toolchain updating process
Go to Tools > Toolchain > Update. Be patient for the toolchain update.
Install the drivers
- Install the toolchain (required for Windows)
- Enable the FTDI drivers
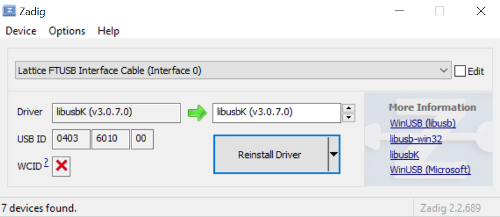
Go to Tools > Drivers > Enable. Each OS has a different process. This configuration requires administration privileges.
Note
In Windows, an external application (Zadig) is launched to replace the existing FTDI driver of the Interface 0 by libusbK.
In MacOS this operation requires Internet connection to allow Homebrew to install libffi and libftdi packages.
Hint
To revert the drivers configuration go to Tools > Drivers > Disable
Create a project
Create a new project
Go to Edit > New. A new window will be opened.

- Add blocks
There are different types of blocks:
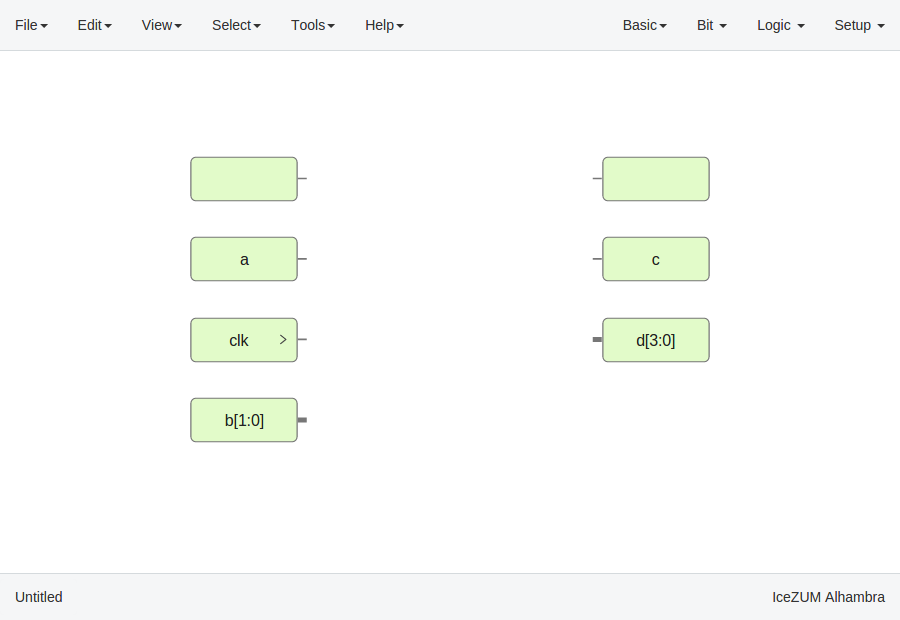
Input/Output blocks
Click on Basic > Input or Basic > Output, write the block’s name and press OK or Enter.
Also, it can be configured as buses using the
[x:y]notation (xis the most significant bit).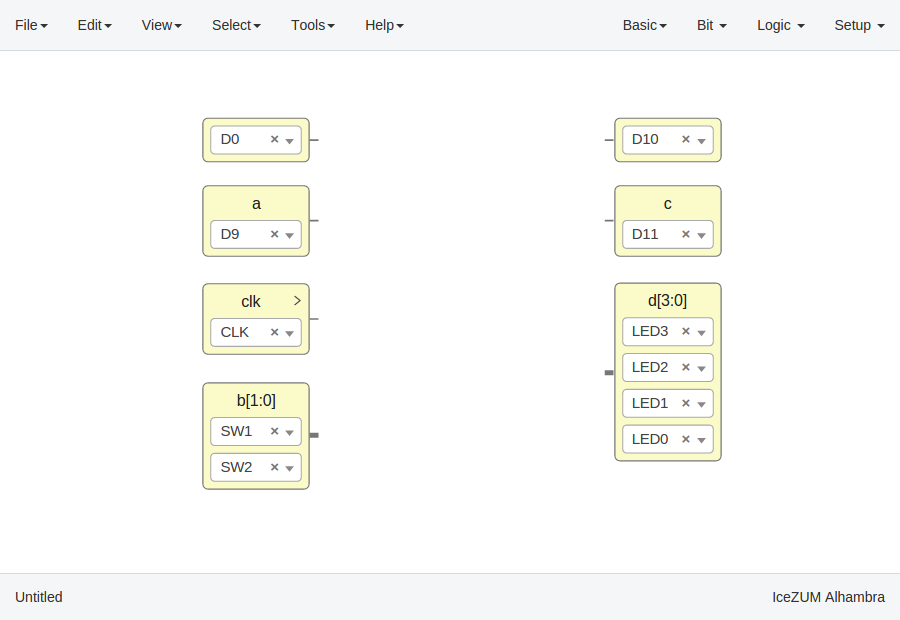
If these blocks are used to build generic blocks, they should be configured as virtual (green). Then, the FPGA pin selector won’t be shown.
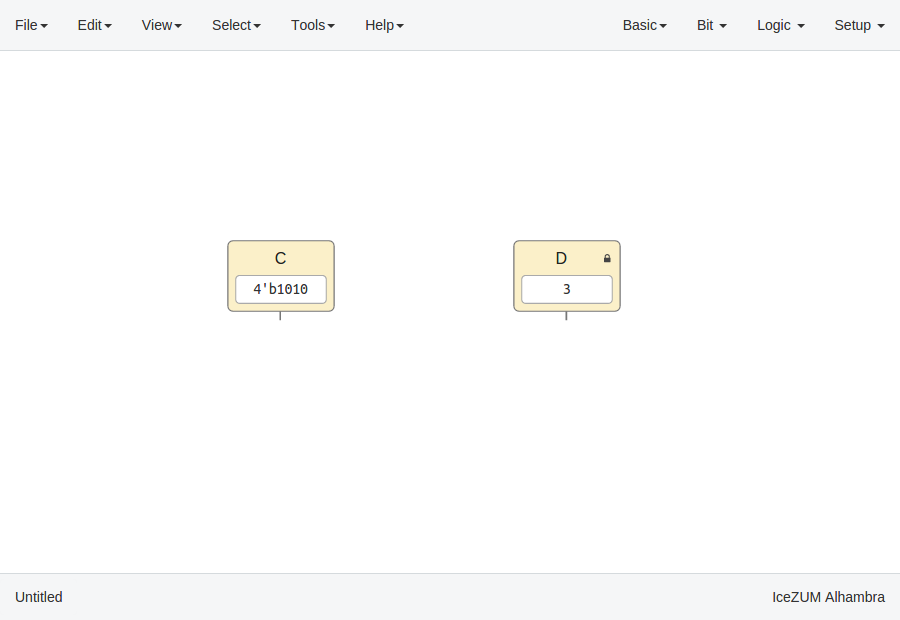
Constant blocks
Click on Basic > Constant, write the block’s name and press OK or Enter.
These blocks can be configures as local. Then, this parameter won’t be exported.
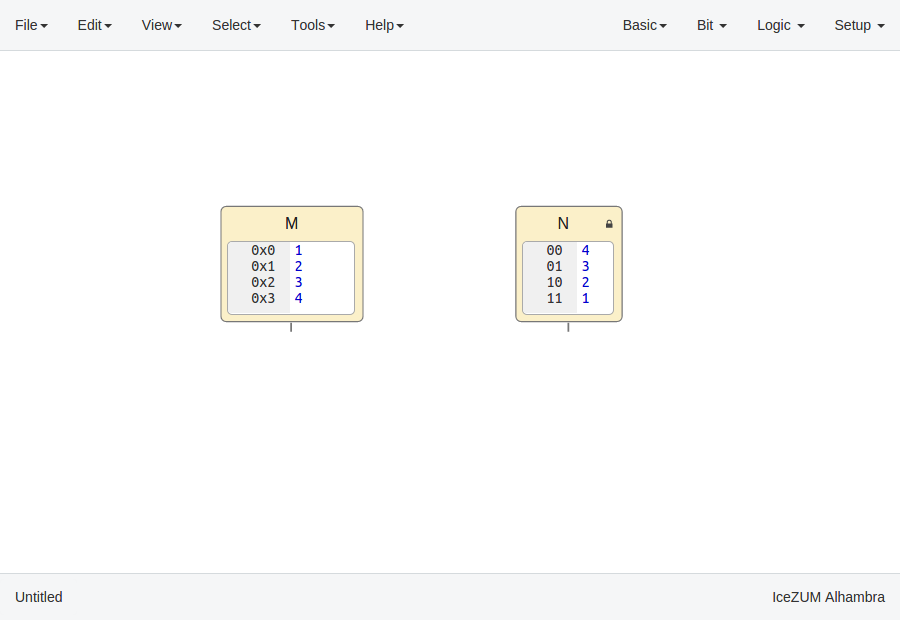
Memory blocks
Click on Basic > Memory, write the block’s name and press OK or Enter.
These blocks can be configures as local. Then, this parameter won’t be exported. Also you can update the address format of the memory to be binary, decimal or hexadecimal.
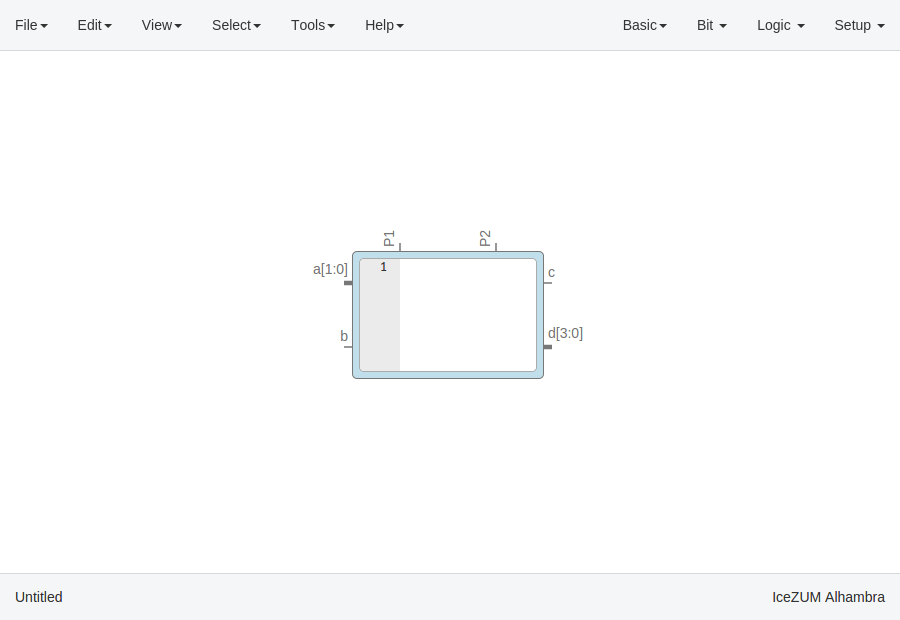
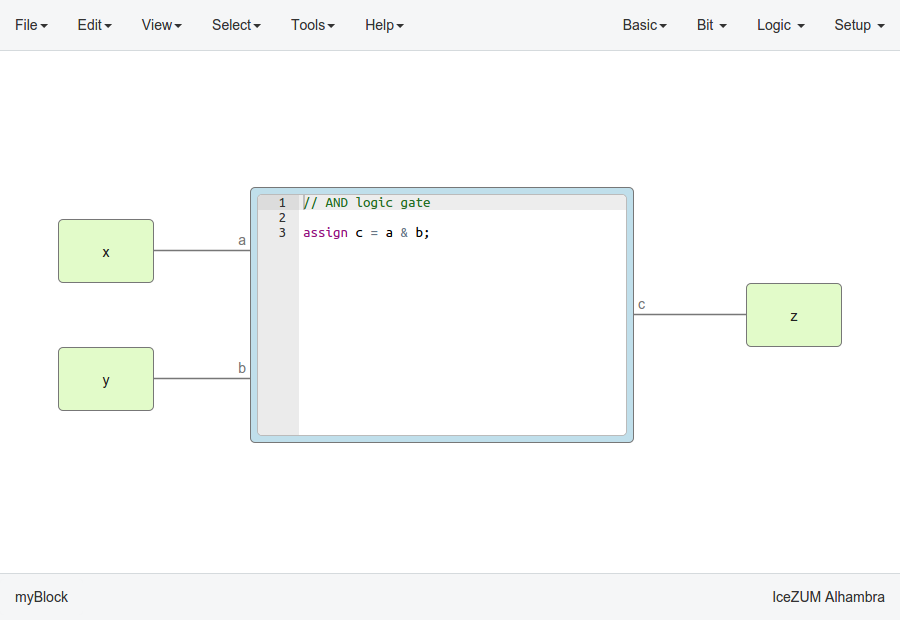
Code blocks
Click on Basic > Code, add the code ports. Port names are separated by a comma. E.g.:
a, b.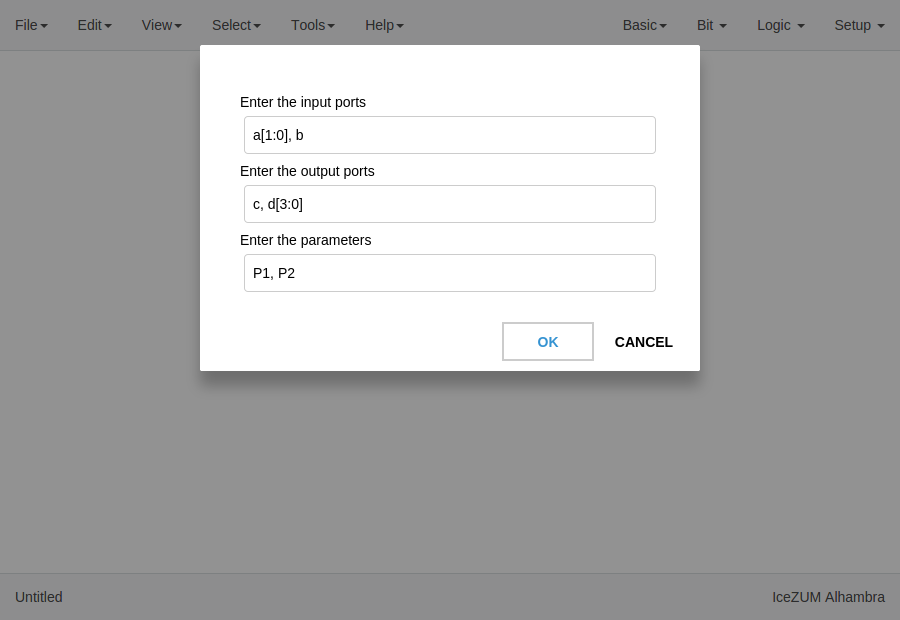
This block contains a text editor to write your module in verilog code. Module header and footer are not required.
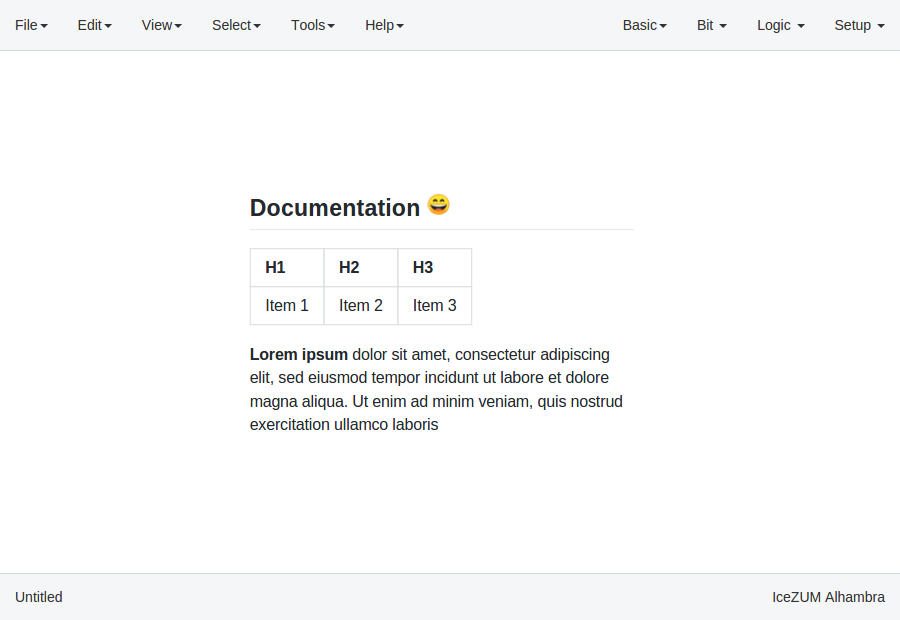
Info blocks
Click on Basic > Info.
This block contains a text editor to add comments about the project in Markdown or HTML.
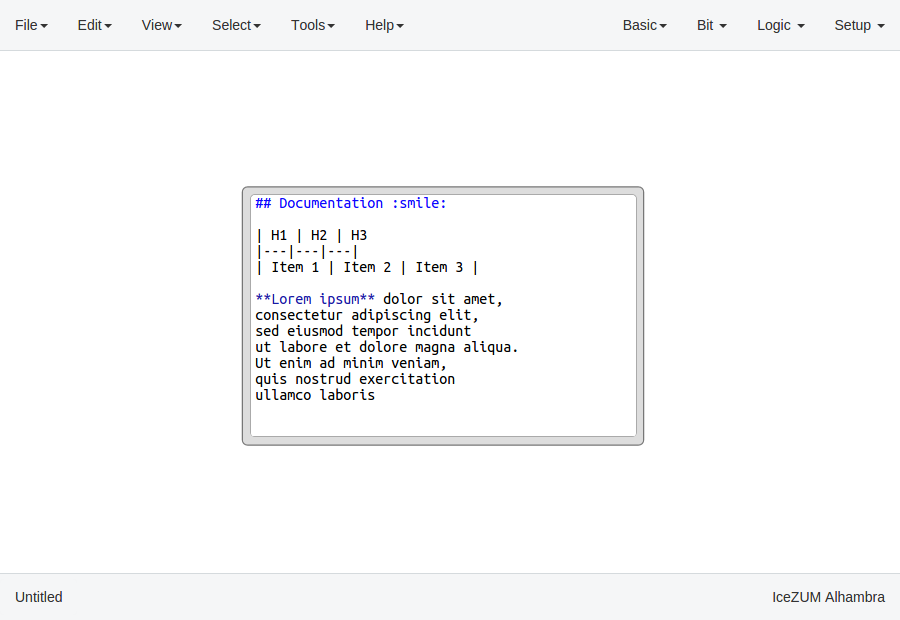
It can be rendered simply by double-clicking the block.
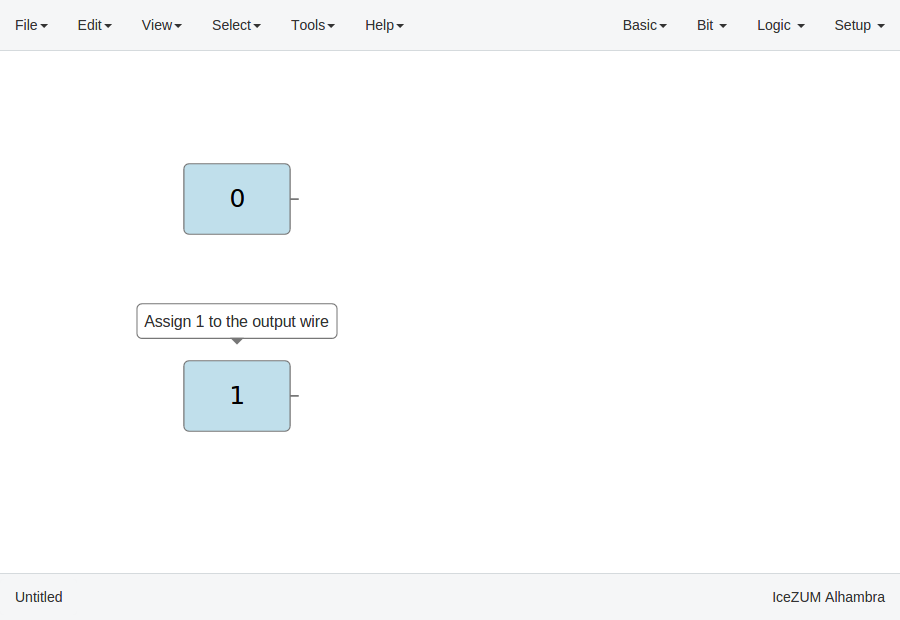
Bit blocks
Click on Bit > 0 or Bit > 1.
These blocks are low and high logic drivers.
Logic blocks
Go to the Logic menu and select a block. This menu contains Gates, Combinational blocks and Sequential blocks.

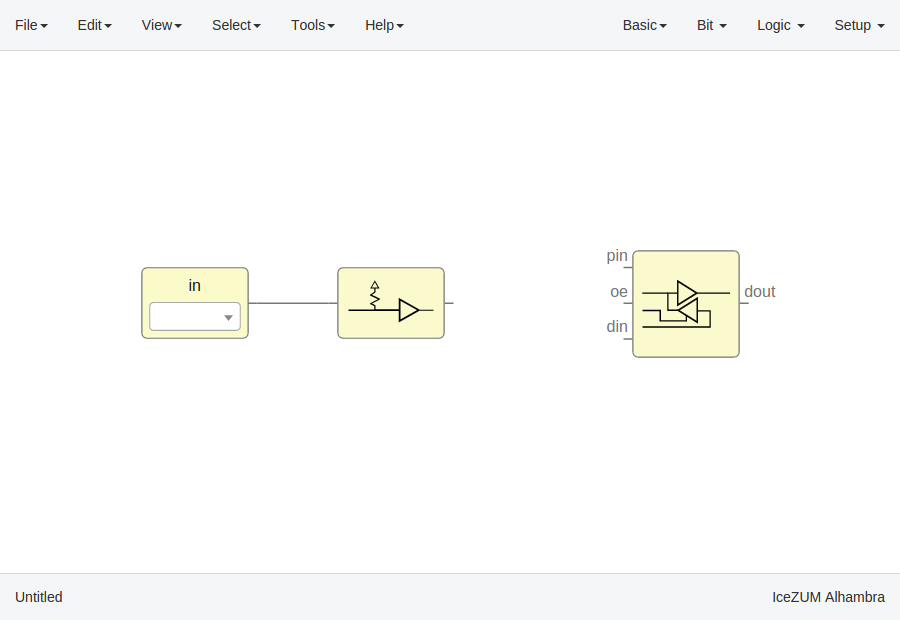
Setup blocks
Click on Setup > Pull up or Setup > Tri-state.
The Pull up block must be connected to input ports in order to configure a pull up in the FPGA.
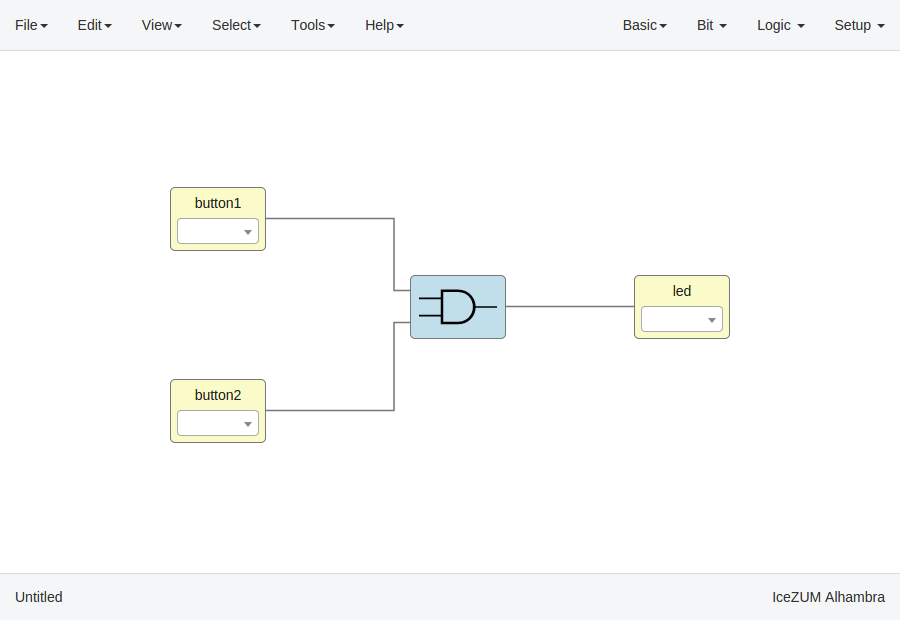
In this example we are going to implement an AND logic gate with its input/output pins connected to the FPGA I/O.
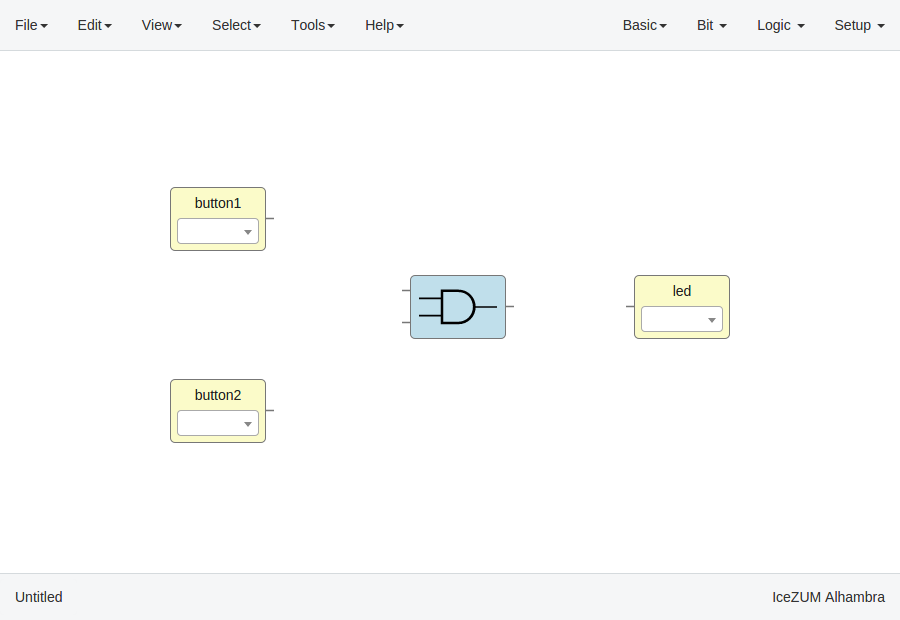
- Connect the blocks
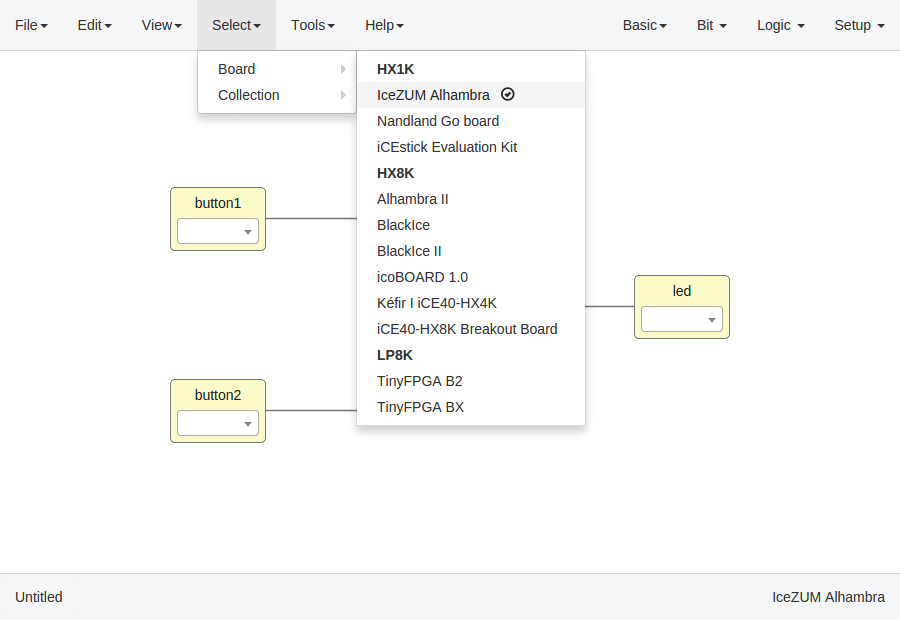
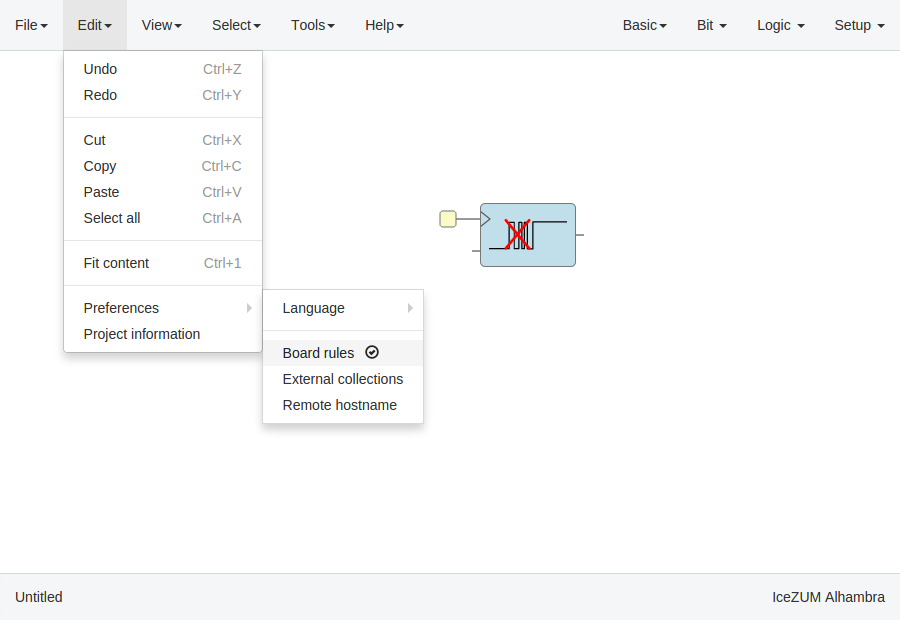
Select your board
Go to Select > Board and select the board from the list.
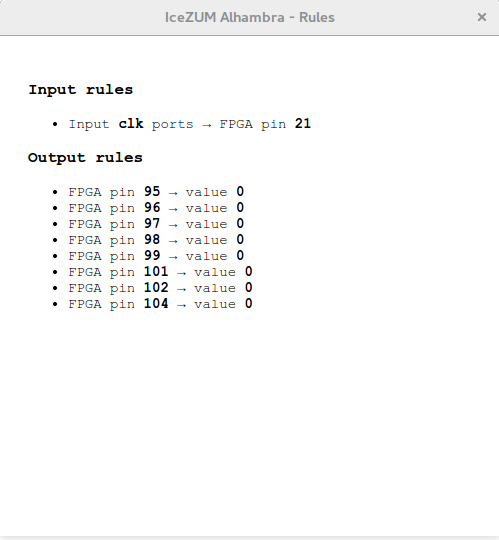
Set FPGA I/O pins
Select all Input/Output blocks’ pins.

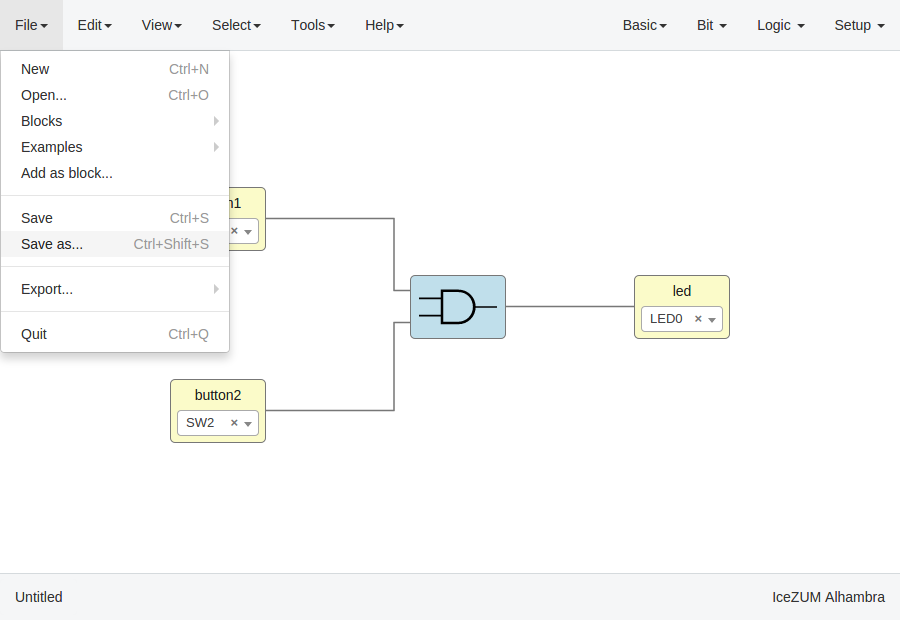
Save the project
Go to Edit > Save as and select the project name, for example myProject.
It will be saved as an .ice file.
Upload a bitstream
Open a project
Go to Edit > Open… and select an .ice file.
Verify the project
Go to Tools > Verify.
This option checks the generated verilog code using
apio verify.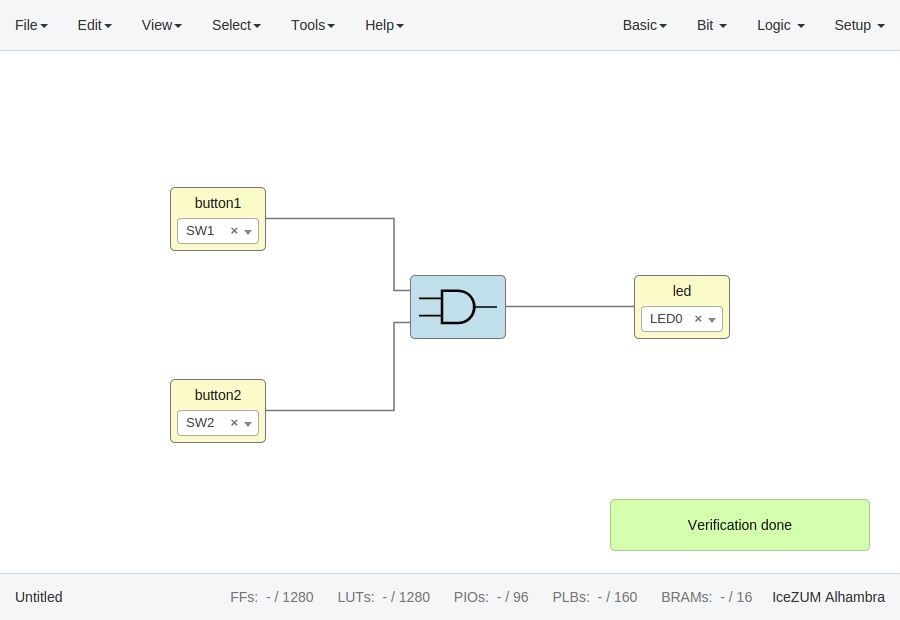
Build the project
Go to Tools > Build.
This option generates a bitstream using
apio build.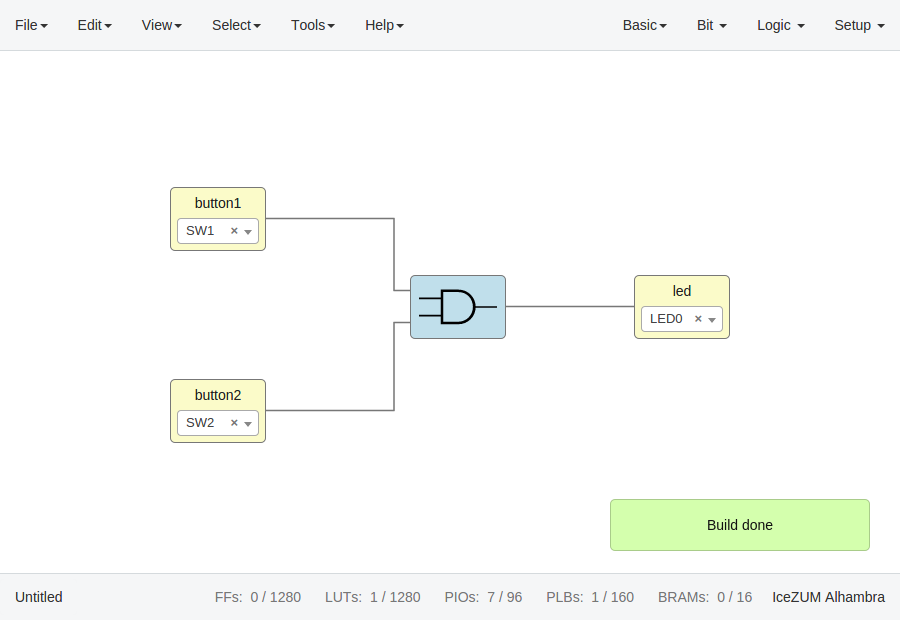
Upload the project
Connect your FPGA board and press Tools > Upload. This option uses
apio upload.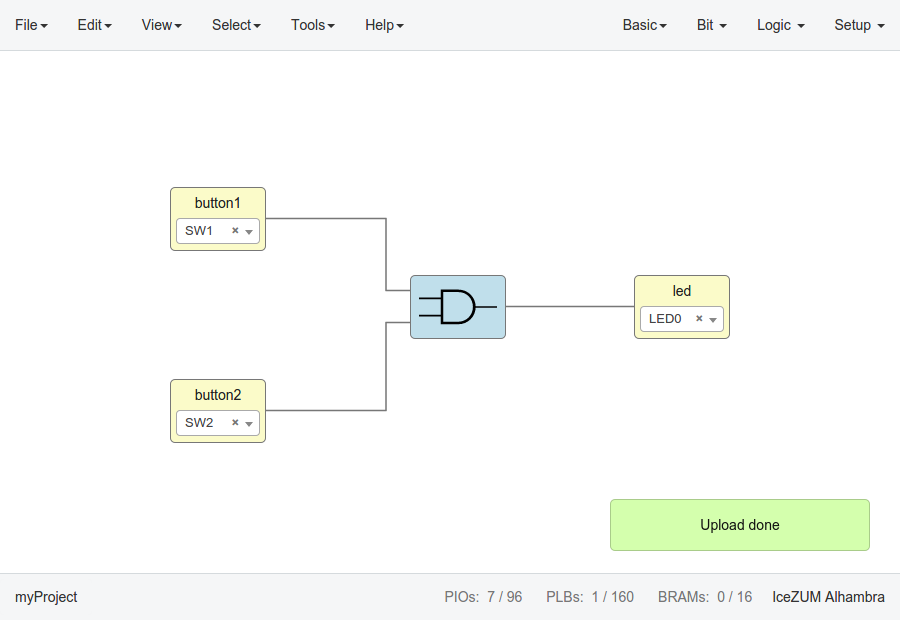
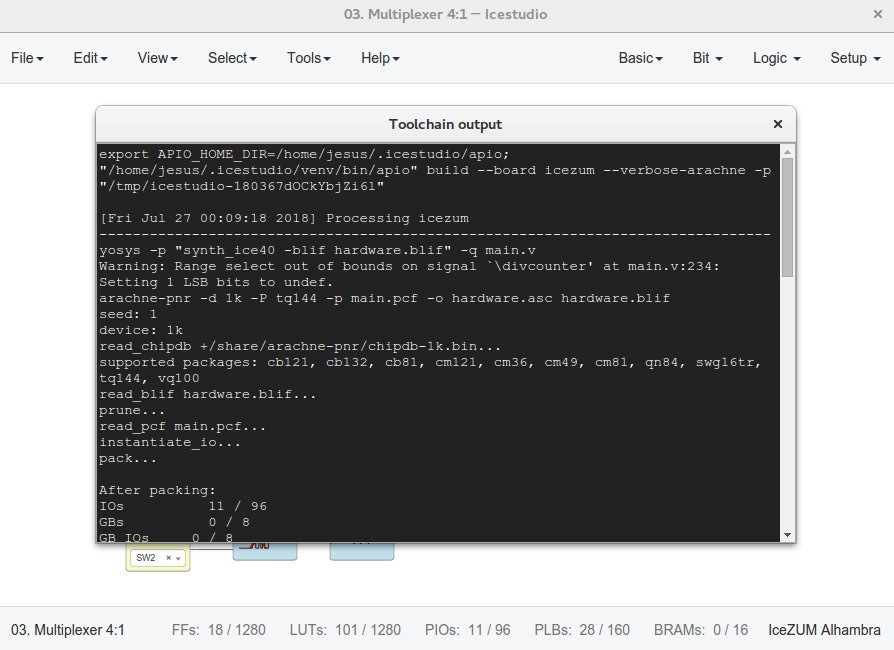
Show the commands output
After executing Tools > Verify, Tools > Build or Tools > Upload you can see the executed command and the output in a new windows opened from View > Toolchain output.
Create a block
Open a project
Go to Edit > Open project and select an .ice file. It is recommended to set all the I/O ports non-FPGA ports (green) to create a block.
Verify the project
Go to Tools > Verify.
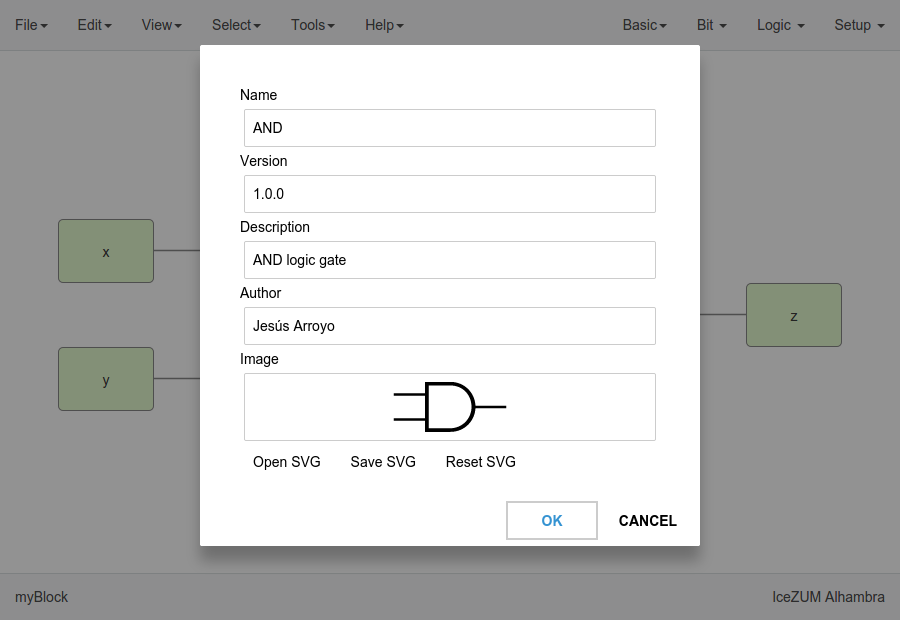
Add the project information
Go to Edit > Preferences > Project information.
Save the project
Go to Edit > Save.

Add a project as block
- Open or create a new project
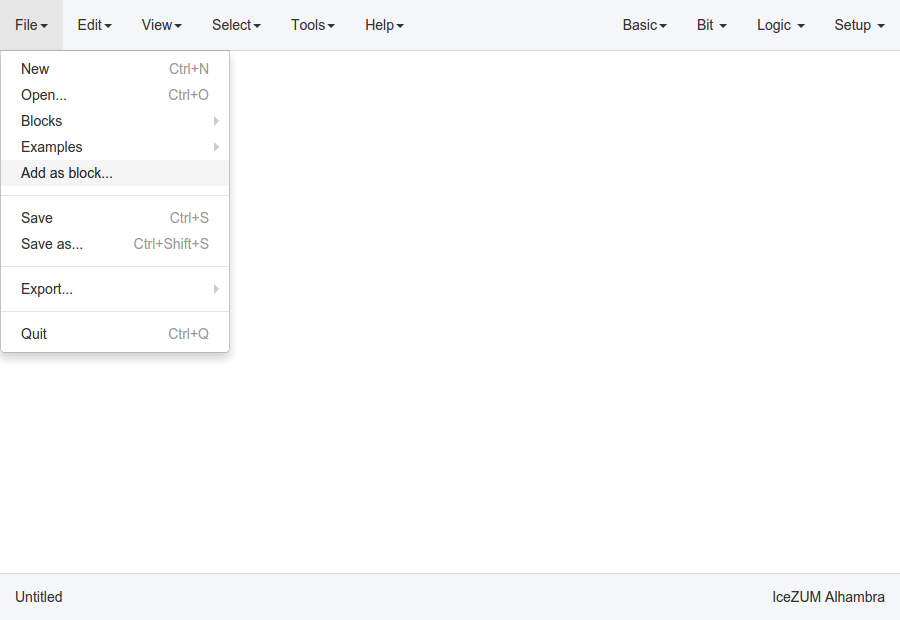
Import the custom block
Go to Edit > Add as block… and select an .ice file.
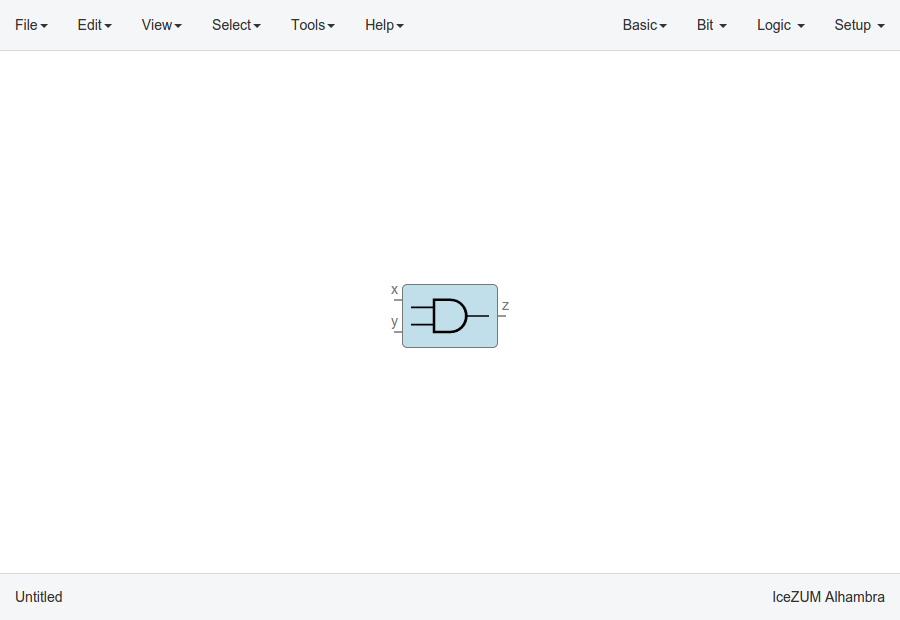
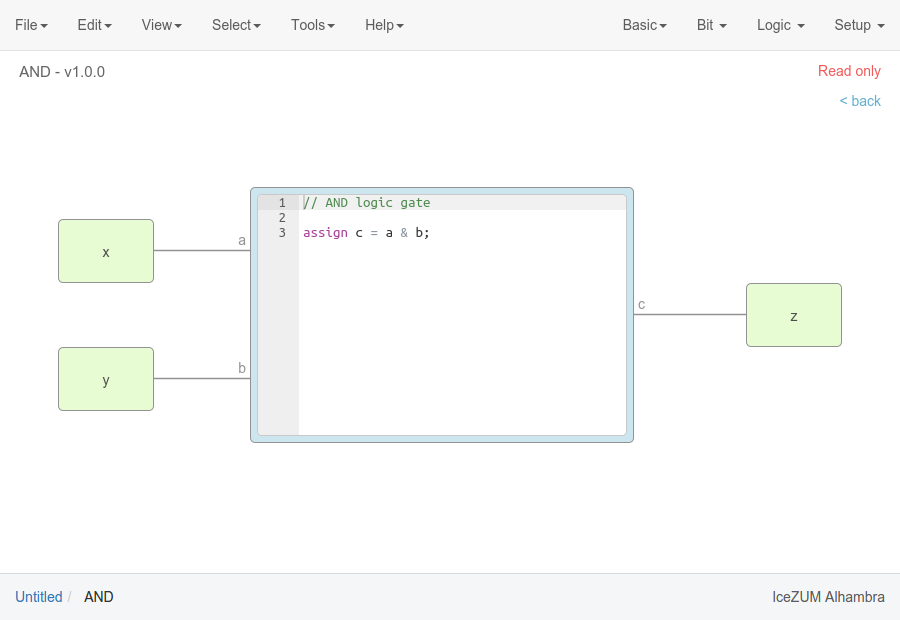
Examine the custom block
Complex blocks can be examined by double clicking the block.
Add a collection
Go to Tools > Collections > Add and select a collection package (ZIP file).
Select a collection
Go to Select > Collections. Select a collection. The first item is the “Default” collection that is the one stored in the application, then the installed internal collections and finally the external collections.
View the selected collection info
Go to View > Collection info. A new window will appear with the README.md file content.
Load external collections
Go to Edit > Preferences > External collection and insert an absolute path of your system containing Icestudio collections.
Create a collection package
- Create one or more collections
You can use the icm cli tool to create and update a collection.
Collection/
├── blocks
│   ├── category1
│   │   ├── block1.ice
│   │   └── subcategory1
│   │       ├── block11.ice
│   │       └── block12.ice
│   └── category2
│       └── block2.ice
├── examples
│   ├── example1.ice
│   ├── example2.ice
│   └── example3.ice
├── locale
│   ├── en
│   │   └── en.po
│   ├── es_ES
│   │   └── es_ES.po
│   └── translation.js
├── LICENSE
├── package.json
└── README.md
- ZIP all your collections
Create a ZIP file with all your created collections at the main level.
Collections.zip
|
├── Collections 1
│   └── ...
└── Collections 2
    └── ...
Note
The file package.json must exists, and also the blocks directory and/or the examples directory. The locale directory is optional. More information in the Default collection.
Include a list file
If your code block contains a list file(s), for example:
$readmemh("rom.list", rom);
- Save the ice project
- Copy the list file(s) in the project directory
- Build and upload the project
Also you can include explicitly a list file in the header of a code block:
// @include rom.list
Include a verilog (header) file
If your code block includes a verilog (header) file(s), for example:
// @include lib.vh
// @include math.v

`include "lib.vh"
- Save the ice project
- Copy the verilog (header) file(s) in the project’s directory
- Build and upload the project
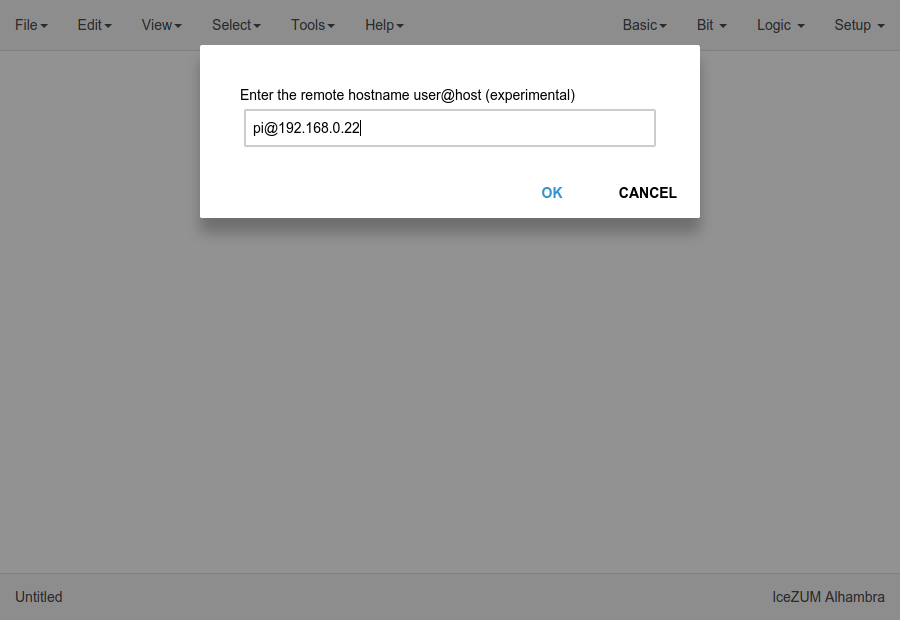
Configure a remote host
I you want to use a RPi, eg pi@192.168.0.22, or another computer from Icestudio as a client, first configure the host:
- Copy your SSH public key into the server
$ ssh-keygen
$ ssh-copy-id -i .ssh/id_rsa.pub pi@192.168.0.22
- Install apio in the server
$ ssh pi@192.168.0.22
$ sudo pip install -U apio
$ apio install --all
$ apio drivers --enable  # For FTDI devices
Enter the host name in Icestudio, Edit > Remote hostname
Now, Verify, Build and Upload tools will run in the selected host
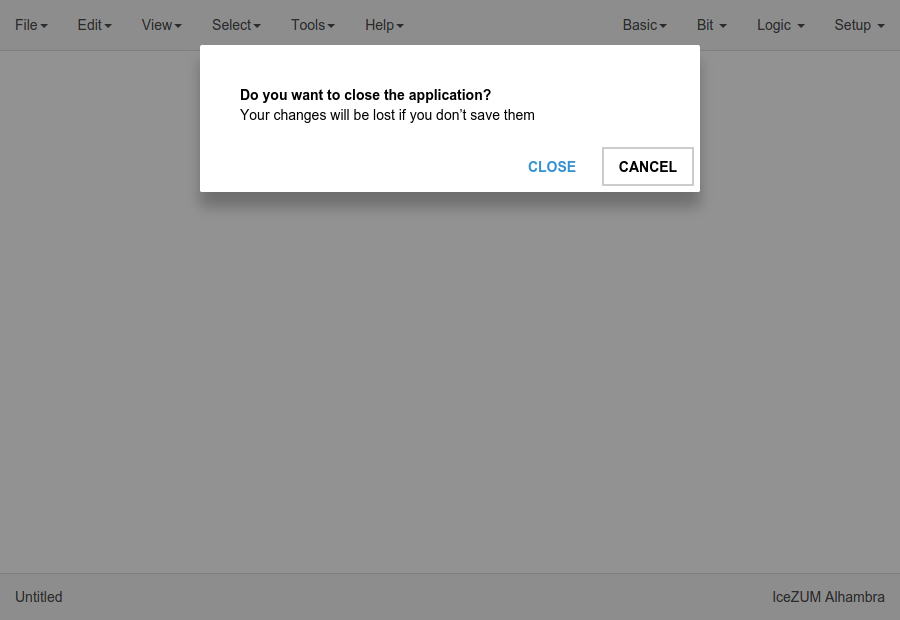
Close the application
Go to File > Quit or click the application’s close button. If there are unsaved changes an alert will appear to confirm or cancel the action: